
In recent times, the associated hosting cost for some of my personal projects exploded due to the shortage of server hardware. This made me think – what if you could host some of your projects, maybe even customer projects, using your own on-premise cloud lab? Your own, personal, Free Cloud Gateway Server? While the idea isn’t exactly new, I thought about possible ways to achieve a scalable, secure and decentralized cloud platform. There are some solutions like Cloudflares “One”, that offer an interesting approach to this challenge – a tunnel, connecting your personal, self-hosted server to a cloud-gateway, making it available to the public. While I could easily use this solution, where is the fun in that?
So I set myself up for a little coding challenge. Spoiler: Turns out, it was indeed not so little after all.

The zero-trust cloud access gateway I designed has a couple of key features, making it a holistic solution for this issue. First of all, you get a simple server management interface. You will only have to provide at least one VPS with a static, public IP address and any recent linux distro. This server will be used to terminate all incoming internet connections as well as the tunnel to your devices. Such a VPS can be rented for as low as 1€/month, e.g. at Strato, or you could also use the AWS free-tier cloud server, which also has sufficient resources.

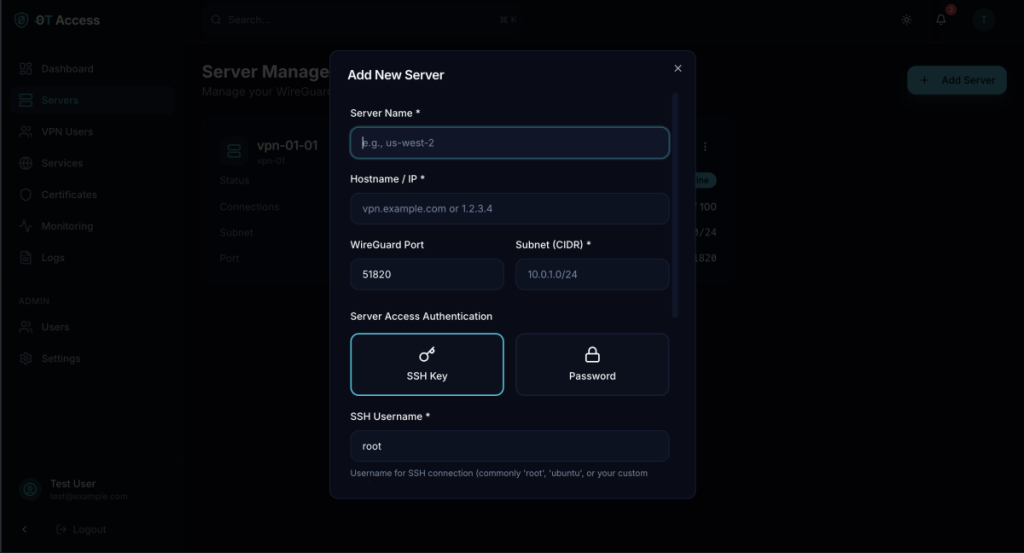
0T Access offers a simple wizard to add new servers. You need to enter either the DNS name or the IP of the server, and some credentials, either SSH Keys or username + password. The software will then configure the server for usage with 0T Access and install all necessary packages. Some basic hardening is also taking place, however it will only focus on typical firewall- and webserver configs and does not replace traditional solutions for OS-level hardening.
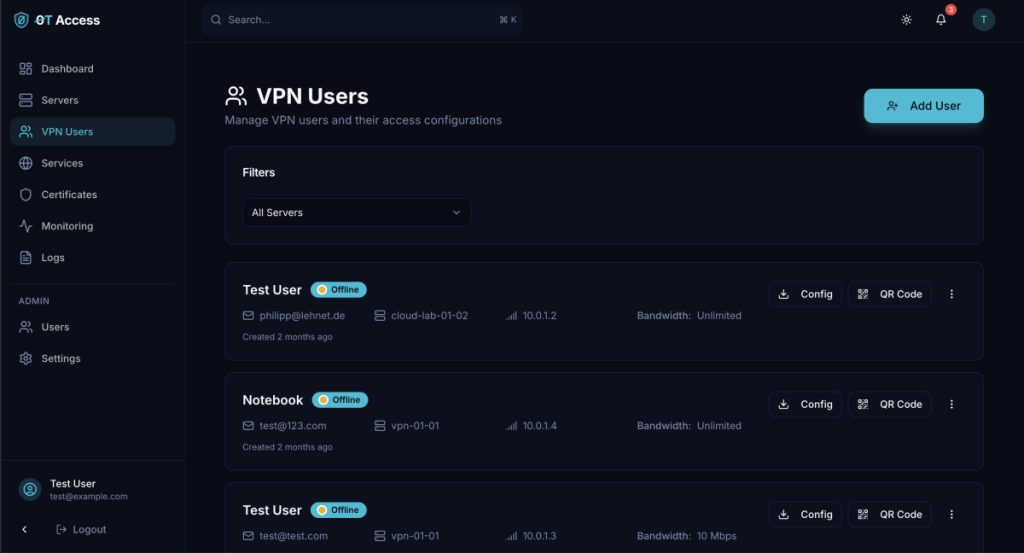
Once your server is ready, you can proceed to create VPN- or Service Profiles. Since this solution is based on a regular wireguard-server, I thought it would be nice to add regular VPN-Management features as well. You may create a new user, send out the credentials, limit bandwith and/or internet access based on IP-ranges as well as disable and block entire profiles. You can freely chose which servers to enroll the profile on, and it will be automatically updated and dynamically provisioned. If you ever decide to redeploy your VPS, no worries – it is possible to reinstall all packages and reprovision all existing configurations with just two clicks.
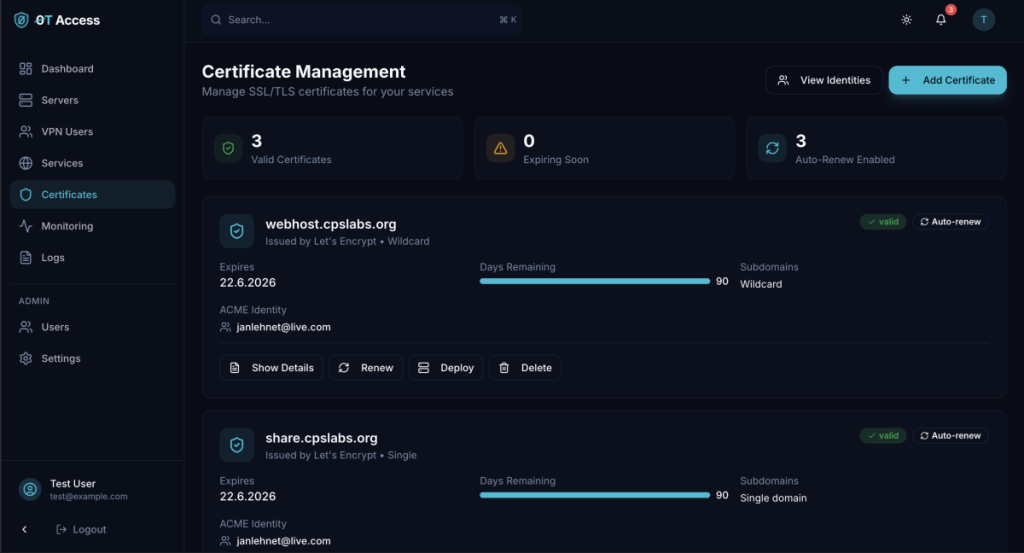
Up until this point, its just another fancy VPN-server management interface, no one really asked for. However, the next bit makes it unique. You are able to create your own SSL-certificates based on Let’s Encrypt, with auto-renewal and automatic storage for your existing Let’s Encrypt identities. This makes it easy to maintain a vast amount of domains without risking a rate-limit for creating new certificates. Once you did the DNS-challenge for any domain, sub-domain or wildcard, the certificate is stored securely inside the database.
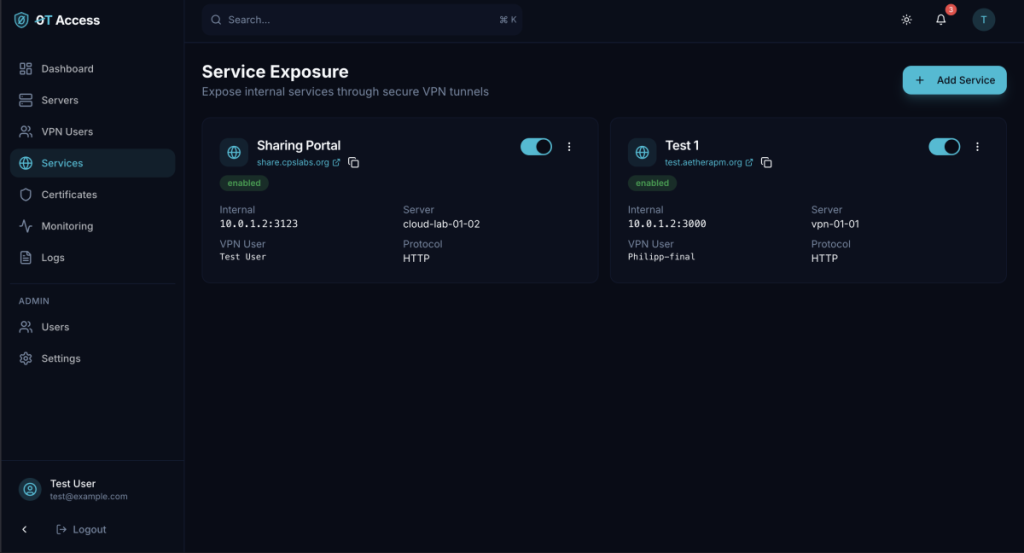
Once your SSL-Certificates are ready, you can start deploying them to any of your access servers. There, the certificates will be used to secure connections to your own services. This Service-Feature is where the magic happens and all the components come together:
Using the wireguard tunnel, you connect to your self-hosted server. You define the local port, where any web-content is served, and the rest happens automagically. You just need to install any wireguard-client using the provided configuration. And, of course, the public DNS entry, pointing the domain to your VPS.
And that’s about it – you now have a way to securely expose your private movie collection, cloud lab, website and any other service you can imagine for as low as 1€/month – and you get your own VPN-service on top for free.
In a future blog post I might dive into the security architecture of this solution under the hood. Stay tuned for more info!